
Whip Up Some Healthy Snack Bars!
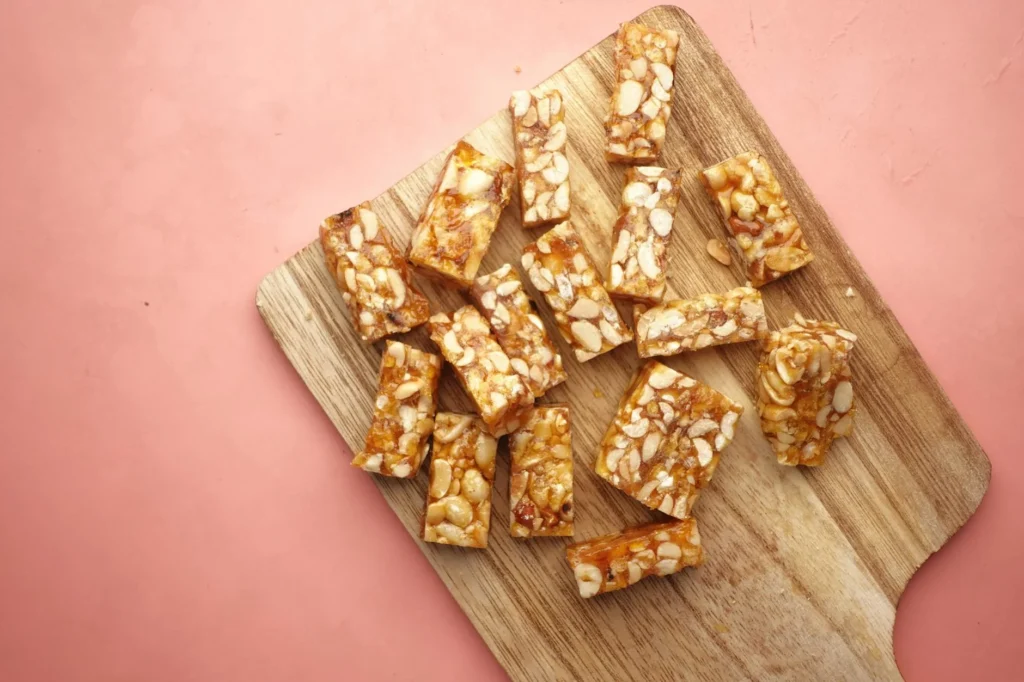
Finding easy, nutritious snacks for busy toddlers can be a challenge. These homemade snack bars are a fantastic option! They’re packed with good-for-you ingredients, naturally sweet from fruit, and perfect for little hands. Plus, you control exactly what goes into them.
Who These Snack Bars Suit
- Toddlers aged 24 months and up who are ready for firmer textures.
- Parents seeking lower-sugar, additive-free snack alternatives.
- Children who enjoy self-feeding and finger foods.
- Families looking for make-ahead snack solutions for busy days.
Ingredients
This recipe focuses on whole, natural ingredients. Feel free to adjust based on what you have and your toddler’s preferences!

- 1 ½ cups rolled oats (old-fashioned work best)
- ½ cup unsweetened applesauce or mashed ripe banana (about 1 medium banana)
- ¼ cup nut butter (almond, peanut, or sunflower seed butter for nut-free – ensure no added sugar/salt)
- ¼ cup finely chopped dried fruit (like dates, apricots, or unsweetened cranberries – chop very small for toddlers)
- 2 tablespoons chia seeds or ground flax seeds
- 1 teaspoon ground cinnamon (optional)
- 2-4 tablespoons milk (dairy or non-dairy, as needed to bind)
Steps to Deliciousness
- Preheat Oven: Set your oven to 350°F (175°C). Line an 8×8 inch baking dish with parchment paper, leaving an overhang on the sides for easy removal.
- Combine Dry Ingredients: In a large bowl, mix the rolled oats, finely chopped dried fruit, chia seeds (or flax seeds), and cinnamon (if using). Stir everything well to distribute.
- Add Wet Ingredients: In a separate smaller bowl, whisk together the applesauce (or mashed banana) and nut butter until smooth.
- Mix It Up: Pour the wet mixture into the dry ingredients. Mix thoroughly with a spatula or your hands until everything is well combined and sticky. If the mixture seems too dry to hold together, add milk one tablespoon at a time until it reaches a pressable consistency.
- Press into Pan: Transfer the mixture to the prepared baking dish. Press it down very firmly and evenly with the back of a spoon or your hands. The more compact it is, the better the bars will hold together.
- Bake: Bake for 20-25 minutes, or until the edges are lightly golden and the bars feel firm to the touch.
- Cool: Let the bars cool completely in the pan on a wire rack before attempting to cut them. This is crucial for them to set properly.
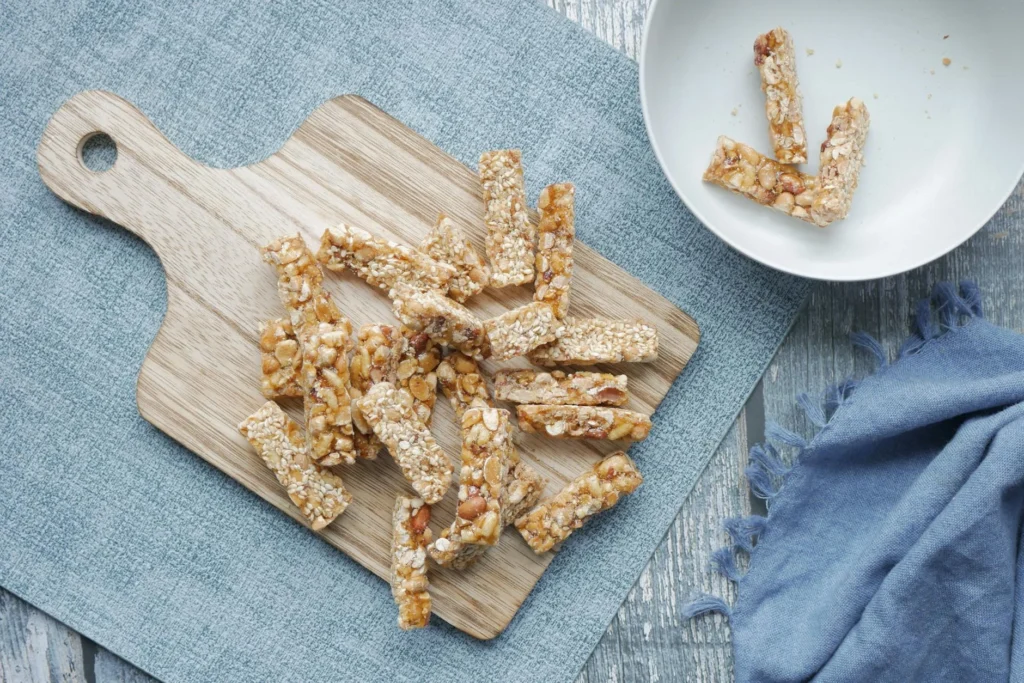
- Cut: Once fully cooled, lift the parchment paper to remove the slab from the pan. Cut into toddler-appropriate bar shapes or squares.
Storage & Serving
- Storage: Store cooled bars in an airtight container in the refrigerator for up to 5-7 days. For longer storage, freeze individual bars for up to 2 months. Thaw in the fridge or at room temperature.
- Serving: Offer as a convenient snack between meals, alongside a piece of fruit, or with a dollop of plain yogurt. Always supervise your toddler while they are eating.
Safety Notes
When preparing and serving food to young children, safety is always paramount:
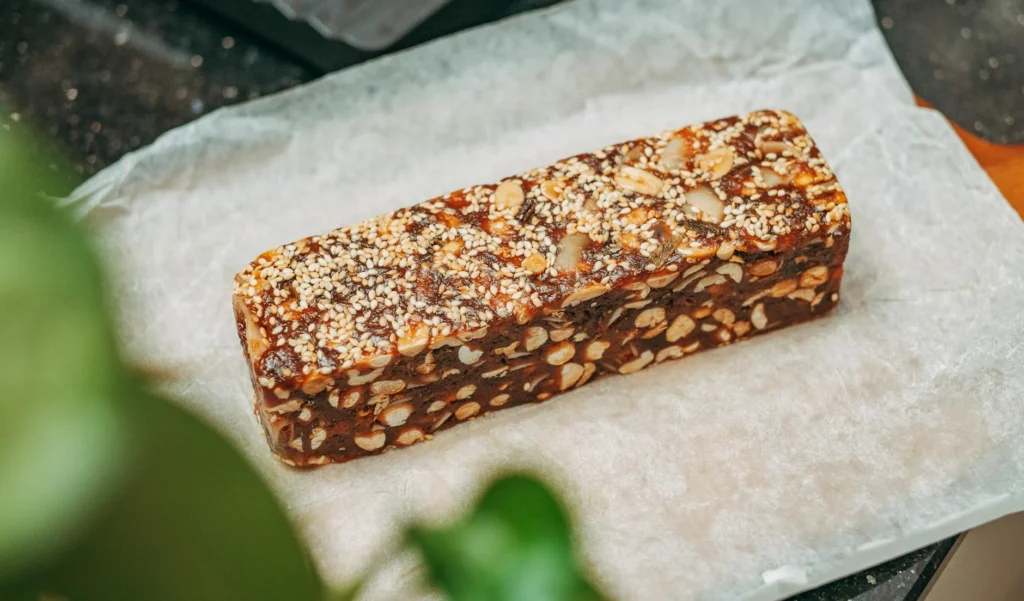
- Allergens: If using nut butter, introduce it safely and watch for any reactions. When introducing new foods, always do so one at a time over a few days to monitor for potential allergies. Consult your pediatrician with any concerns about food allergies.
- Choking Hazard: Ensure dried fruit is chopped very finely. Cut bars into small, manageable pieces appropriate for your toddler’s age and chewing ability. Always supervise your child closely during snack time.
- Sweeteners: This recipe is designed to be lower in added sugar. The sweetness comes from fruit. For children under one year, please remember that honey is not recommended due to the risk of infant botulism. While this recipe is for toddlers 24+ months, we continue to prioritize minimal added sugars for healthy development.
- Salt: We recommend avoiding added salt in toddler recipes. These bars are naturally flavorful without it.
- Disclaimer: This information is for general knowledge and informational purposes only, and does not constitute medical advice. Always consult with a qualified healthcare professional, such as your pediatrician or a registered dietitian, for any health concerns or before making any changes to your child’s diet.
Note: Totals vary by provider, region, and part quality.
Images sourced from Pexels.